There are so many tasks to perform as you plan your wedding that it can quickly become overwhelming. One such time consuming and rather tedious task is stuffing, addressing and mailing wedding invitations. As monotonous as it may be, this is also a vital step in the preparation process. Fortunately, there is wedding invitation stuffing etiquette to follow that will help you streamline the procedure.
Stamping/Stuffing etiquette:
1.
Lay the inner envelope, the envelope that directly holds the invitation, in front of you with the invitees' names facing down and the open flap pointing to the right.
2.
Slide the invitation into the envelope. The front of the invitation should face the back of the envelope so it is seen when the envelope is opened.
3.
Place the mailing envelope so you are looking at its back and the open flap is pointing to the right.
4.
Holding the invitation, cover the names of the invitees with protective tissue paper, if it has been provided. Tissue paper is not required.
5.
Place the invitation into the mailing envelope with the front of the invitation's envelope facing the back of the mailing envelope.
6.
Place other enclosures, such as response cards, on top of the invitation, according to size with the largest enclosure first. Stack each envelope facing the same way as the invitation. Seal the mailing envelope and check each invitation prior to mailing to verify the flap is securely sealed. A little extra care on your end will assure a safe, intact and happy delivery.
TIPS & WARNINGS:
-To reduce smudges, wait until all the envelopes are filled and sealed before addressing them.-Invitations should be mailed six to eight weeks before the event.
-At the post office, you can request that the invitations be "hand-canceled" to prevent them from being marked or damaged by machinery.
-To reduce smudges, wait until all the envelopes are filled and sealed before addressing them.-Invitations should be mailed six to eight weeks before the event.
-At the post office, you can request that the invitations be "hand-canceled" to prevent them from being marked or damaged by machinery.
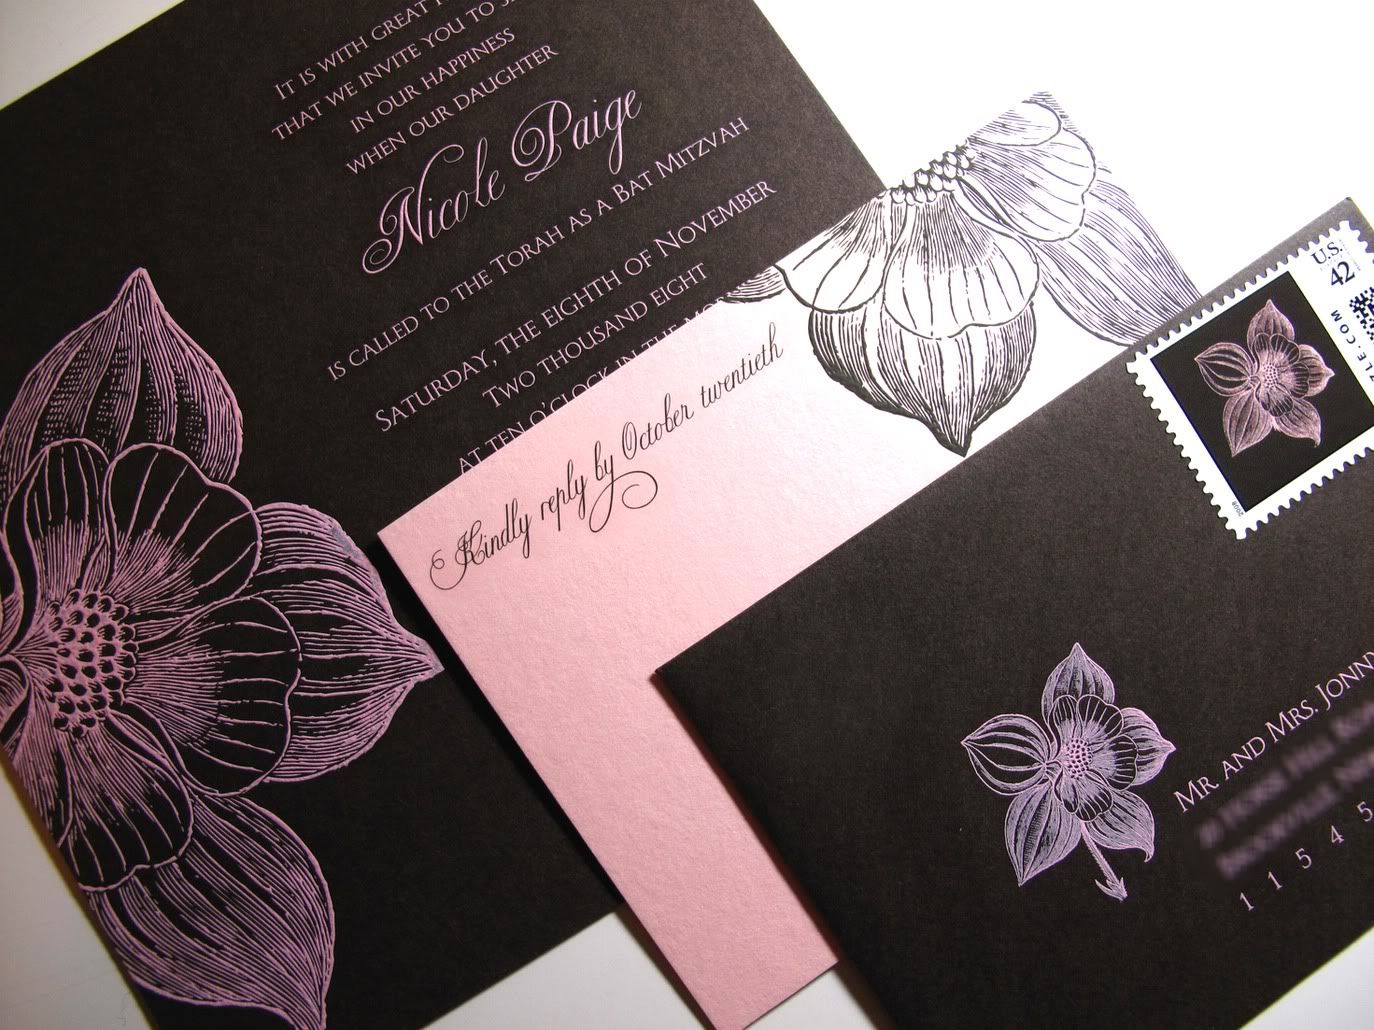
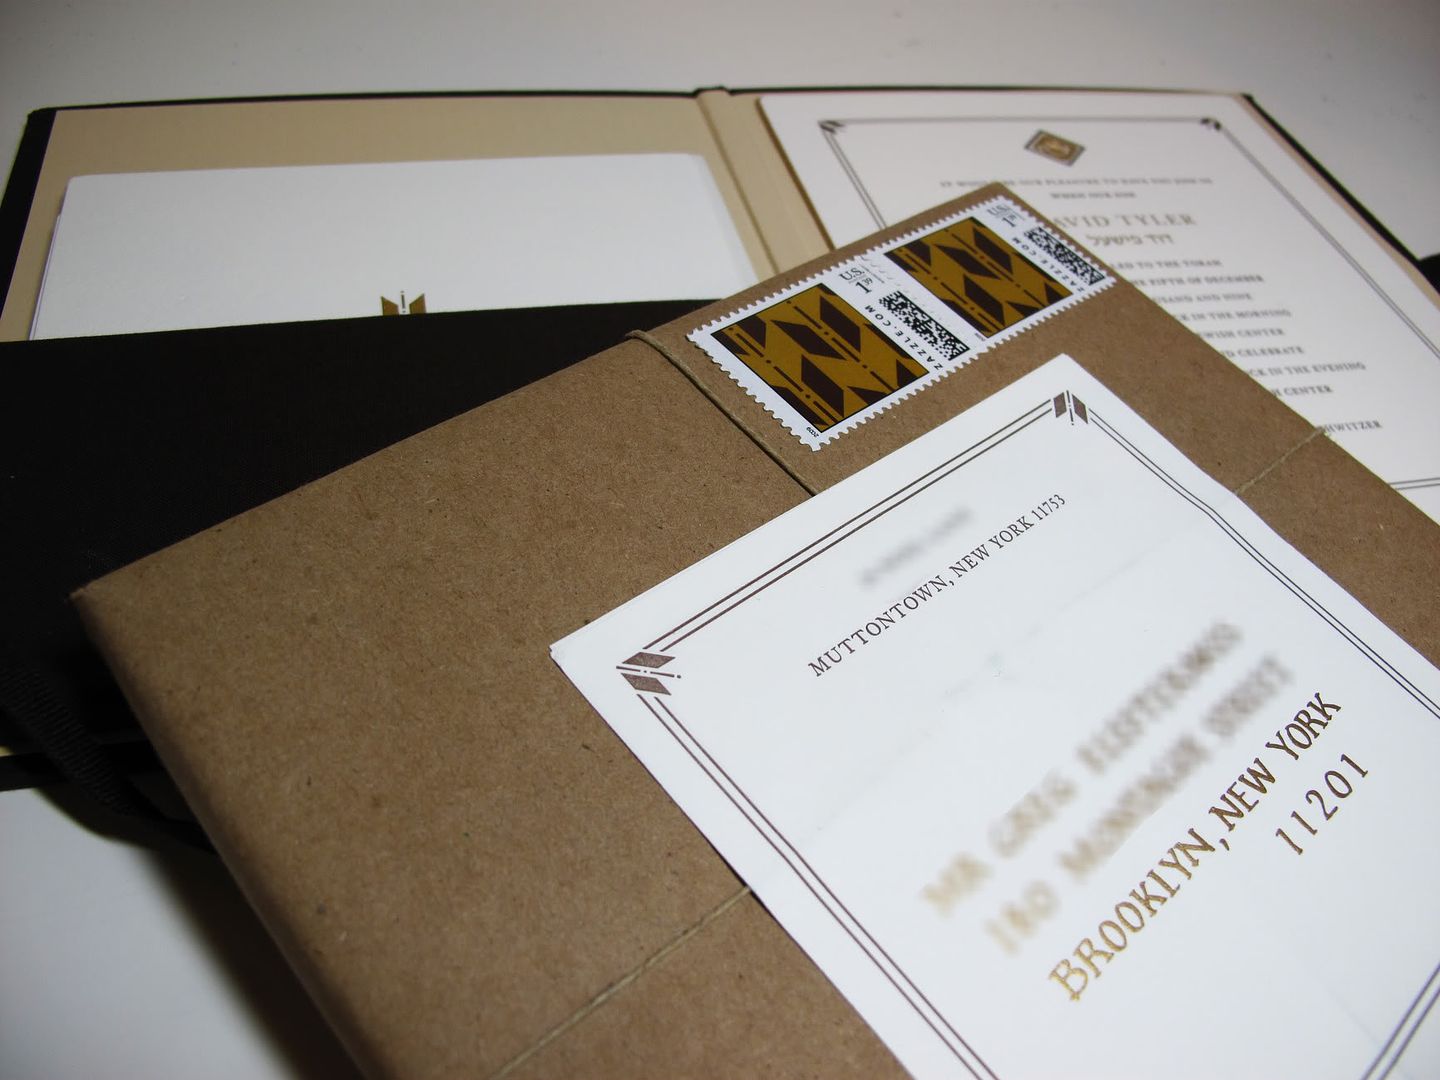
Traditionally, a wedding invitation is sent in two envelopes, an outer envelope which is addressed and stamped, and an inner envelope - containing the invitation, reception card, reply card and other material such as directions - which bears the name of the people invited. Although it may seem complicated or overly formal, a second envelope is actually very practical because it clarifies exactly who's invited: other family members, children, and whether or not an invited guest may bring a guest. It's perfectly acceptable, however, for a couple to omit inner envelopes.
INVITATIONS:
This is something to think about well in advance of your event invitation mailing.
Send out group e-mails to friends and family members asking for up-to-date addresses. Make phone calls if necessary. Assign a few people to help you collect addresses (especially if you’re hosting a large event), as the process can be time-consuming.
Etiquette for mailing invitations requires that you create a master list of invited guests, preferably in a spread-sheet computer program that you can access regularly to make updates. You can later use this same list to track who has RSVP'd, how many extra people or "dates" will be coming, and later as a list for thank-you notes.Send out group e-mails to friends and family members asking for up-to-date addresses. Make phone calls if necessary. Assign a few people to help you collect addresses (especially if you’re hosting a large event), as the process can be time-consuming.
SAVE-THE-DATE CARDS:
Sending out Save-the-Date cards ensure that your nearest and dearest mark their
calendars, and if need be make travel plans. For local weddings we recommend sending
Save-the-Dates 6-12 months beforehand. For destination weddings, depending on the
locale, we recommend 6-8 months prior. Save-the-Date cards include your name, the
event date and event location. For destination weddings we encourage couples to list
travel information and accommodations, but including it is not a necessity. These
extra details also come in handy if many of your guests are from out of town.
The most beautiful form of addressing invites is by hand. But some invitations that are modern and sleek really do call for a computer-based (custom designed) printed calligraphy which will keep the invite uniform and neat. Labels are a definite no-no.
When should I mail out my invitations?
Invites should be mailed four to six weeks before the big day, or if you have many international guests or are planning your party/reception on a holiday weekend you might consider a six to eight week window.
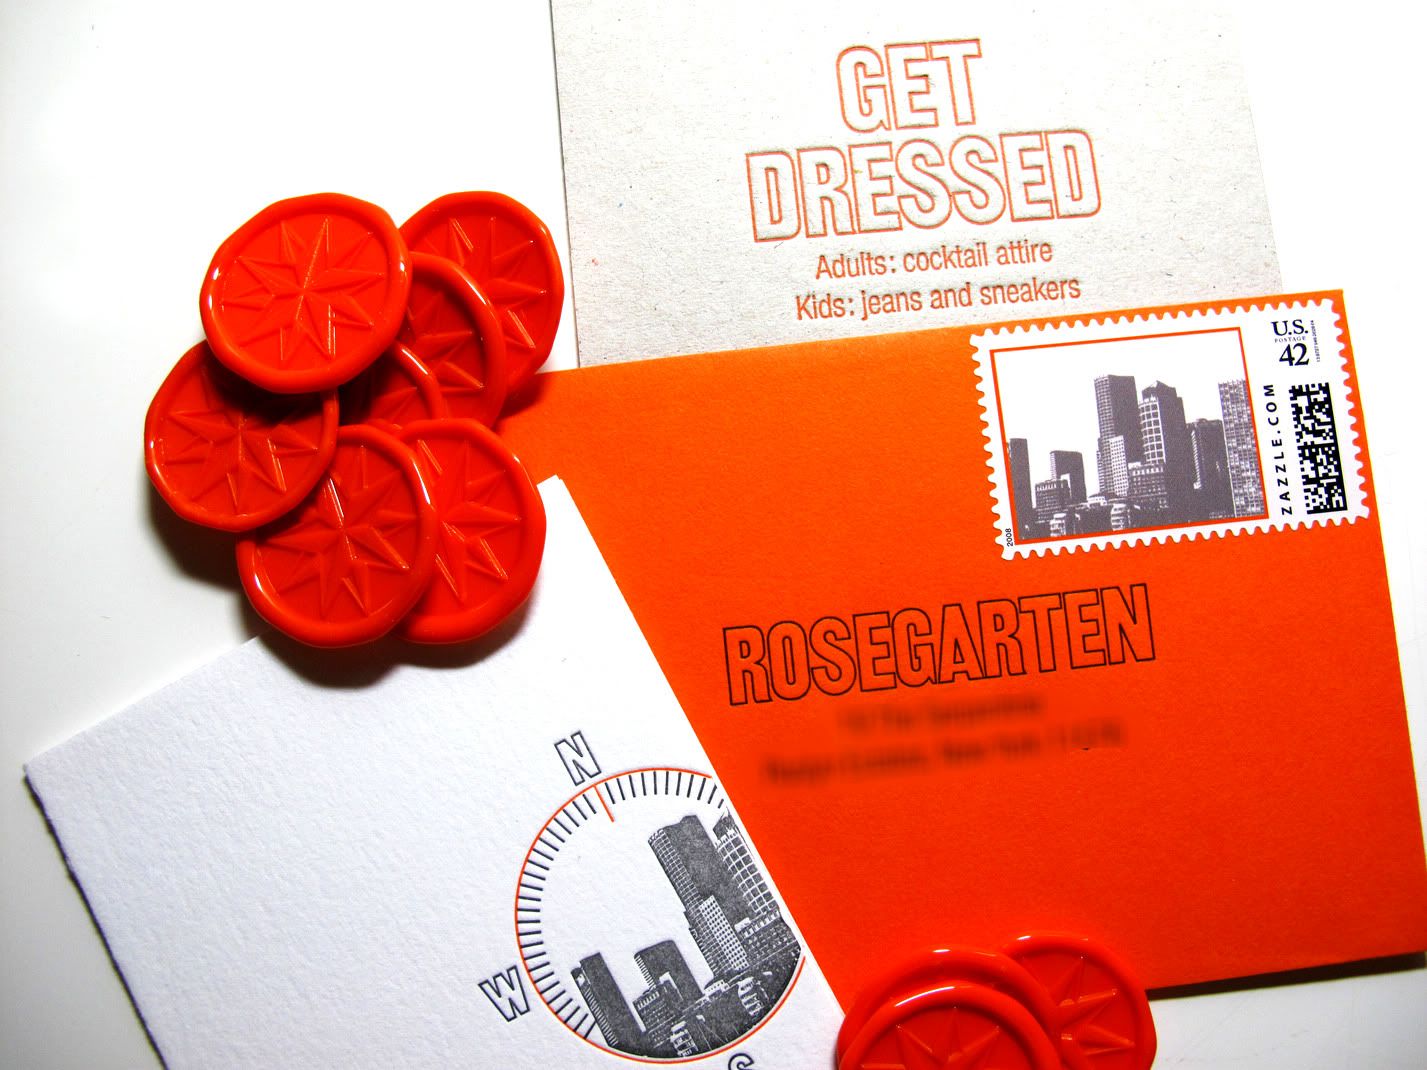
Be sure to verify the weight of the invitation ensemble to ensure they are stamped with the correct postage. Square invitations weighing less than one ounce require a $.11 surcharge.
You spend so much time and money selecting your invitations, take one last step to see that your invitations arrive to your guests as beautiful as you intended. When you are ready to mail the invitations take them inside the post office and ask the friendly clerk to “hand cancel” the stamps. This process manually cancels the stamp and avoids the normal process of machining the envelope and thus potentially streaming black ink across the front of the envelope.
Invites should be mailed four to six weeks before the big day, or if you have many international guests or are planning your party/reception on a holiday weekend you might consider a six to eight week window.
Be sure to verify the weight of the invitation ensemble to ensure they are stamped with the correct postage. Square invitations weighing less than one ounce require a $.11 surcharge.
You spend so much time and money selecting your invitations, take one last step to see that your invitations arrive to your guests as beautiful as you intended. When you are ready to mail the invitations take them inside the post office and ask the friendly clerk to “hand cancel” the stamps. This process manually cancels the stamp and avoids the normal process of machining the envelope and thus potentially streaming black ink across the front of the envelope.
sources:
brighthub.com
eHow.com
goodhousekeeping.com
twigandfig.com
goodhousekeeping.com
twigandfig.com